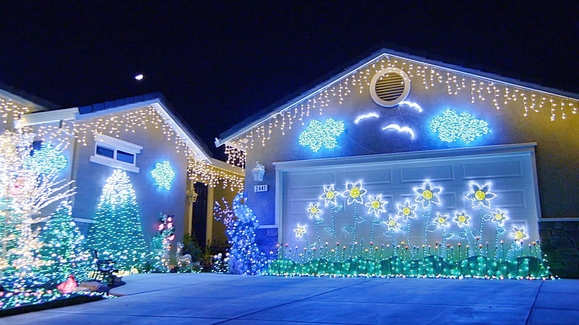
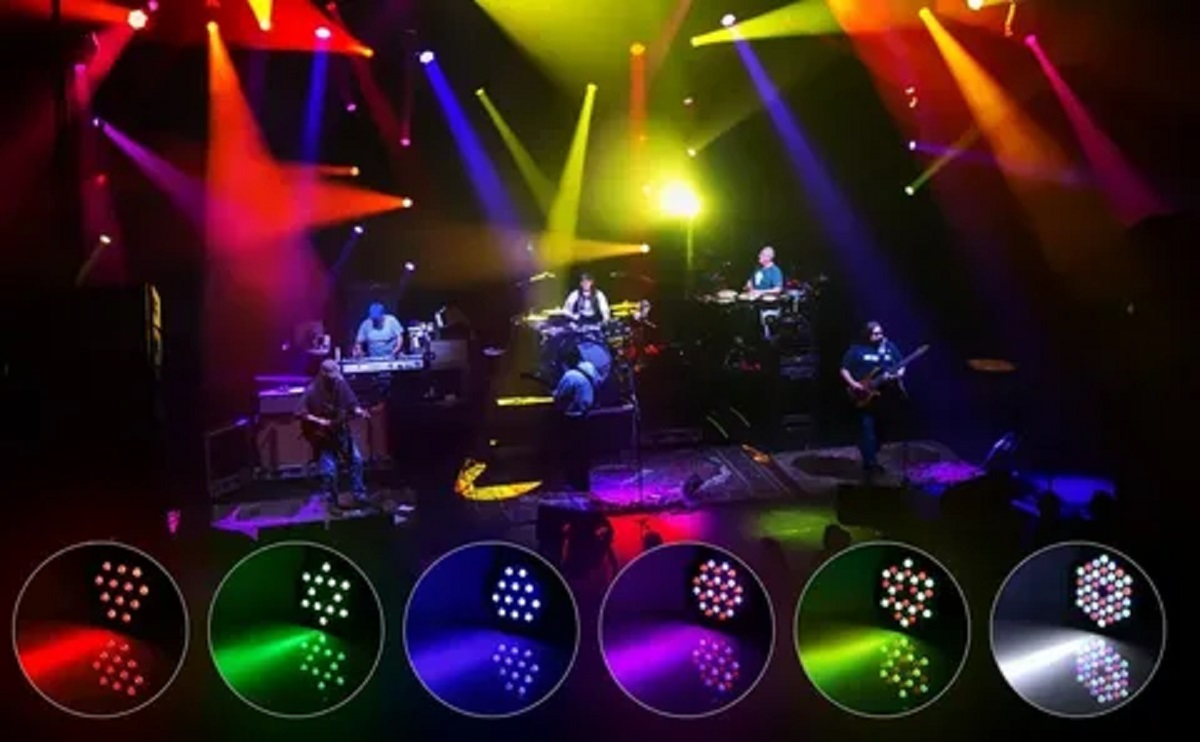
If you’re considering installing permanent RGB lighting, you may be wondering whether to take on the project yourself or seek professional help. In this comprehensive guide, we’ll explore both options and provide you with the information you need to make an informed decision.
DIY Installation: Is it for You?
Installing permanent RGB lighting as a do-it-yourself project can be a rewarding experience, allowing you to customize your lighting design and save on installation costs. However, it’s important to consider a few factors before embarking on a DIY installation:
- Familiarize Yourself with the Technology: Before diving into the installation process, take the time to understand how permanent RGB lighting works. Learn about the different components involved, such as RGB controllers, power supplies, and wiring. Research the specific products you plan to use and read their installation instructions carefully. This knowledge will help you make informed decisions and ensure a smoother installation process.
- Assess Your Technical Skills: DIY installation requires a certain level of technical know-how. Consider your comfort level with electrical work, such as wiring and connecting components. If you have experience with similar projects or feel confident in your abilities, a DIY installation may be a feasible option. However, if you’re unsure or inexperienced with electrical work, it’s best to seek professional help to ensure safety and avoid potential hazards.
- Time and Effort: Installing permanent RGB lighting can be time-consuming, especially if you’re tackling the project on your own. It involves planning, measuring, wiring, and troubleshooting. Assess your availability and determine if you have the time and patience to dedicate to the installation process. Remember, rushing through the installation can lead to mistakes and subpar results.
Professional Assistance: When to Consider It
While DIY installation can be a fulfilling endeavor, there are instances where seeking professional assistance is recommended:
- Complex Installations: If you have a large or intricate lighting design in mind, involving multiple areas, extensive wiring, or specialized installations, it may be wise to enlist the expertise of professionals. They have the knowledge, experience, and tools necessary to execute complex installations seamlessly.
- Safety Considerations: Electrical work comes with inherent risks. If you’re uncomfortable working with electricity or lack the necessary knowledge to ensure a safe installation, it’s best to leave it to the professionals. They are well-versed in safety protocols and can handle the installation with expertise, minimizing the risk of accidents or electrical issues.
- Time Constraints: If you have a busy schedule or limited time for a DIY installation, hiring professionals can save you precious time. They will efficiently handle the entire installation process, from planning to execution, allowing you to focus on other responsibilities.
Installing Permanent RGB Lighting: Step-by-Step Guide
For those who decide to proceed with a DIY installation, here is a step-by-step guide to help you navigate the process:
- Plan Your Lighting Design: Determine the areas you want to illuminate, such as the exterior facade, garden, or interior spaces. Consider the desired lighting effects and colors you wish to incorporate. Sketch a layout and create a list of required components and materials.
- Gather the Necessary Tools and Materials: Ensure you have all the tools and materials needed for the installation, including RGB controllers, LED strips, power supplies, connectors, and wiring. Purchase high-quality components to ensure optimal performance and longevity.
- Measure and Prepare: Measure the areas where the lighting will be installed, taking into account lengths and angles. Prepare the installation site by cleaning and ensuring proper mounting surfaces. If necessary, install proper mounting brackets or tracks to secure the RGB lighting.
- Install RGB Controllers and Power Supplies: Begin by installing the RGB controllers and power supplies in a central location that allows easy access for control. Follow the manufacturer’s instructions for wiring and connecting these components, ensuring proper grounding and insulation.
- Install the LED Strips: Carefully position and attach the LED strips along the designated areas, following the layout you planned earlier. Use adhesive backing or mounting clips to secure the strips in place. Take care to avoid sharp bends or stretching the strips excessively, as this can damage the LEDs.
- Connect and Test the Wiring: Connect the LED strips to the controllers and power supplies using the appropriate connectors. Double-check all connections to ensure they are secure and properly aligned. Before fully securing the wiring, test the installation to ensure all lights are functioning correctly and the desired color schemes are achieved.
- Fine-Tune and Secure: Once you’ve confirmed that the installation is working correctly, fine-tune the lighting effects and colors using the control options provided by the RGB controllers. Adjust brightness, color transitions, and any additional features available. Once you’re satisfied with the results, secure the wiring and components in place, ensuring they are protected from the elements and hidden from view as much as possible.
- Safety Precautions: Throughout the installation process, prioritize safety. Turn off the power supply before making any electrical connections or adjustments. If you’re unsure about any aspect of the installation, consult an electrician or seek professional assistance to ensure a safe and reliable installation.
Remember, the above guide provides a general overview of the installation process. It’s crucial to refer to the specific instructions provided by the manufacturer of your permanent RGB lighting system for detailed guidance tailored to their products.
Conclusion
Installing permanent RGB lighting can elevate the ambiance of your home, allowing you to create captivating lighting displays throughout the year. Whether you choose a DIY installation or opt for professional assistance, it’s essential to approach the process with careful planning, attention to detail, and a focus on safety. Assess your technical skills, time availability, and the complexity of your lighting design to make an informed decision.
By following the steps outlined in this guide and adhering to safety precautions, you can successfully install permanent RGB lighting and enjoy the countless benefits it brings. Transform your home with stunning lighting effects, vibrant colors, and a unique atmosphere that will set your property apart from the crowd.


